LOGO
How can we help?
< All Topics
Print

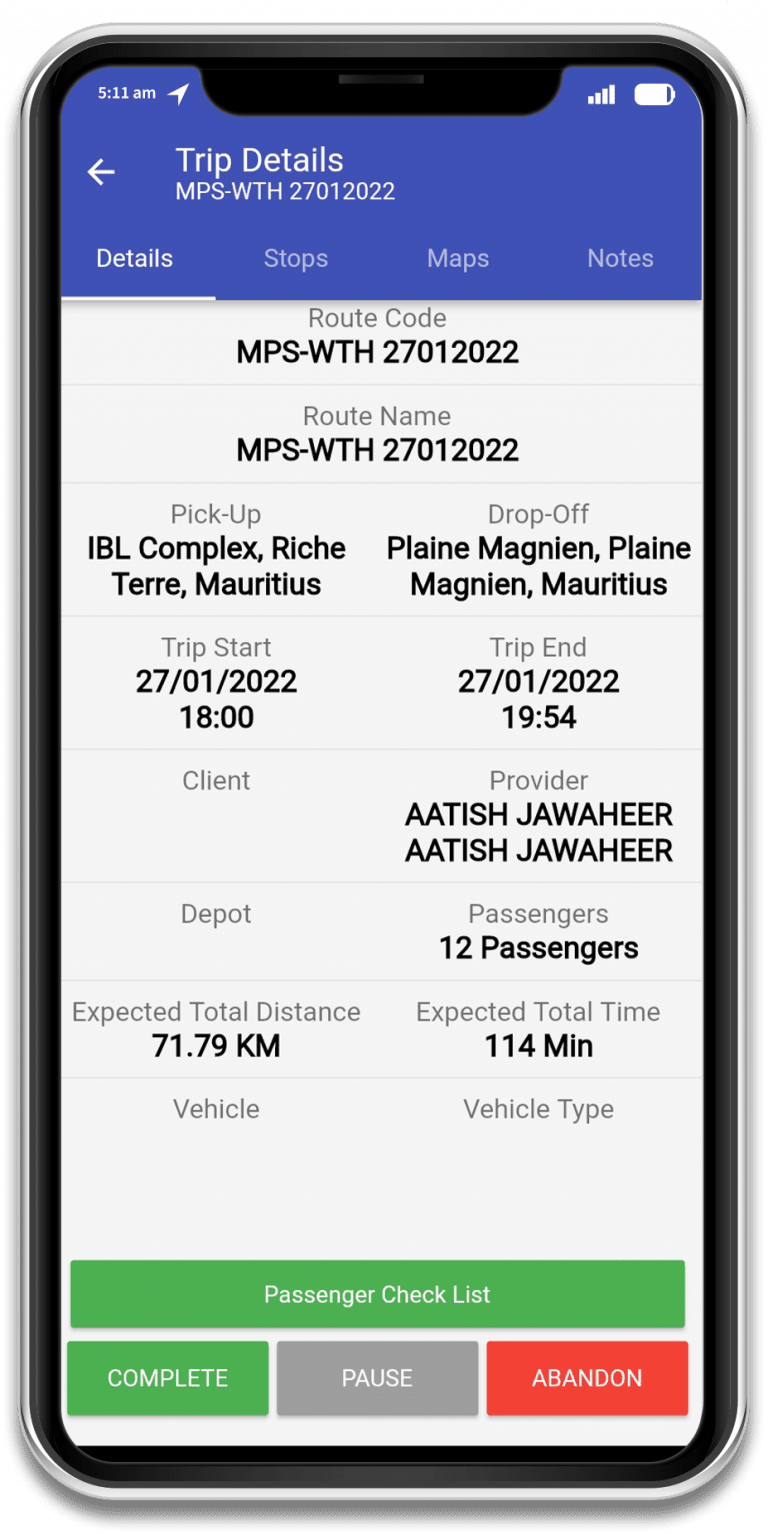
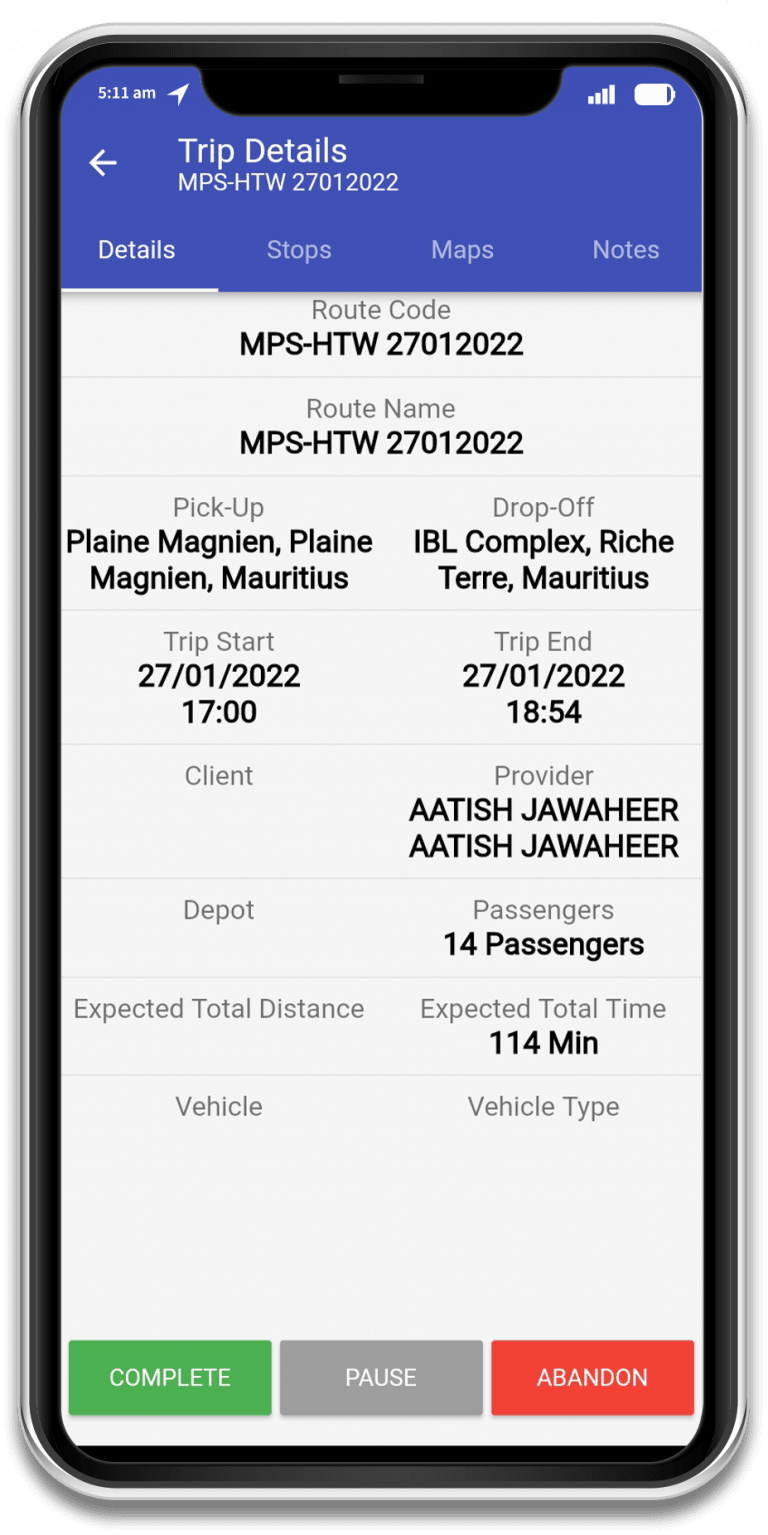
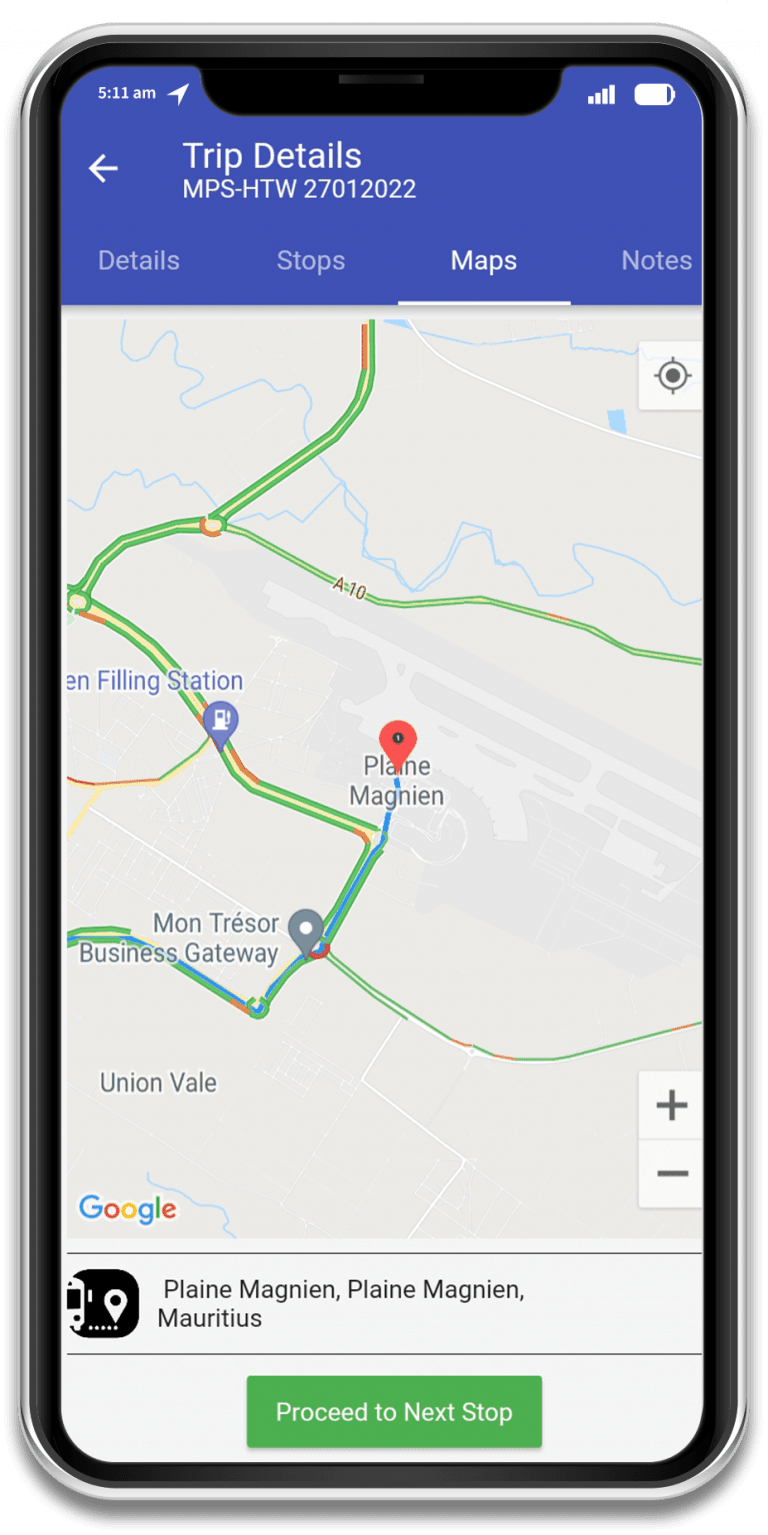
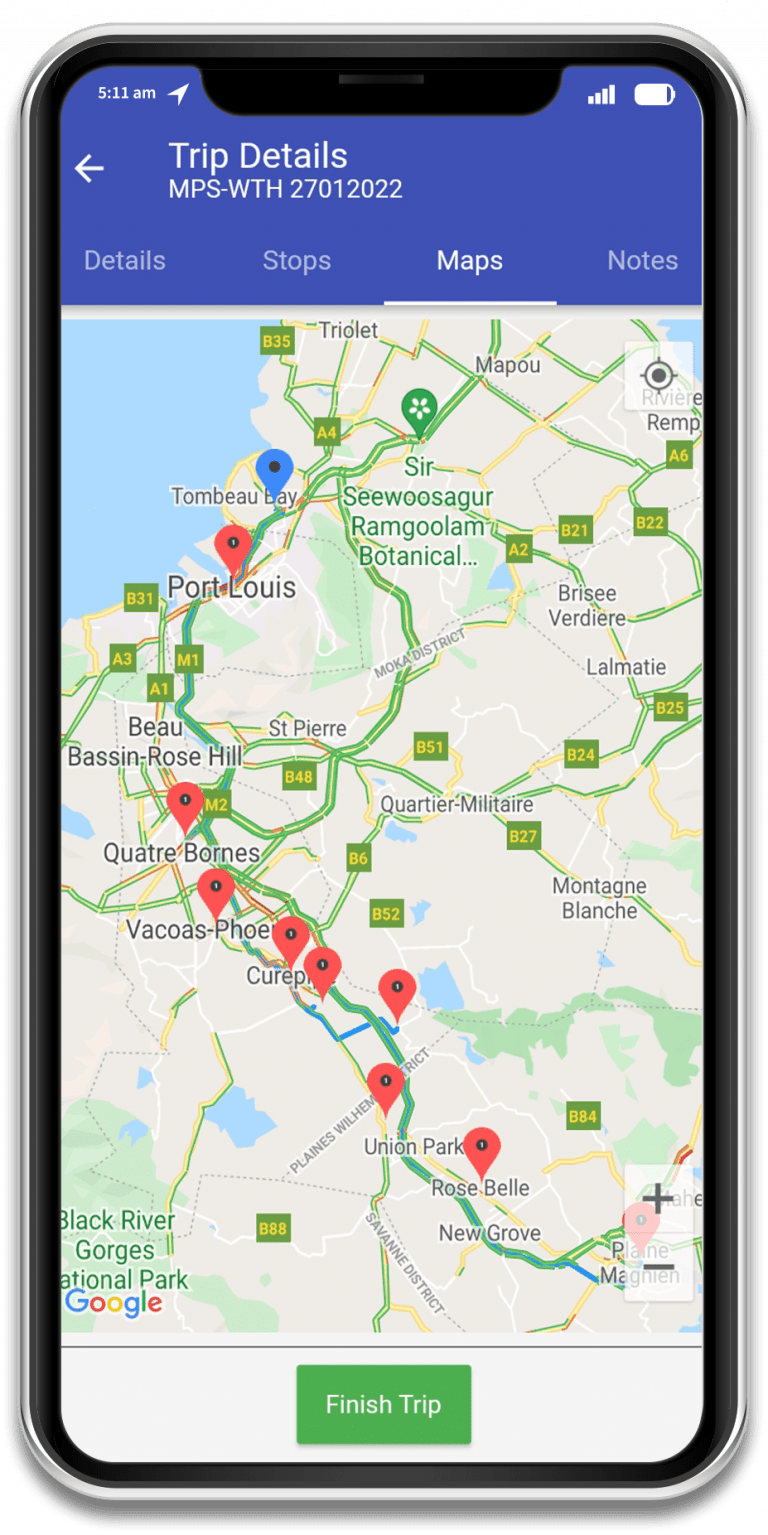
Work to Home Route Flow

8
1
2

OFFERED ROUTE: WORK TO HOME

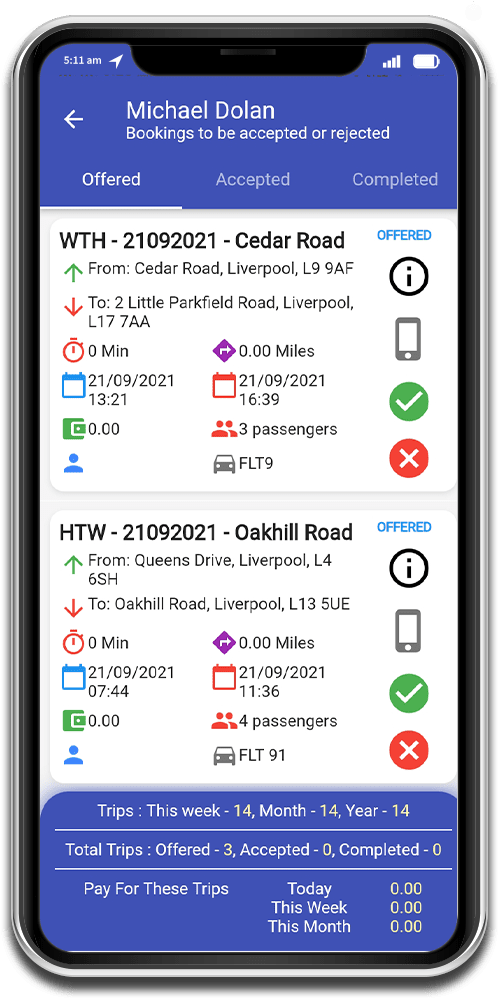
Once a route is offered, it will appear here as shown on the left screen

A driver can tap on either the  button or anywhere within the white box to view details of a given route

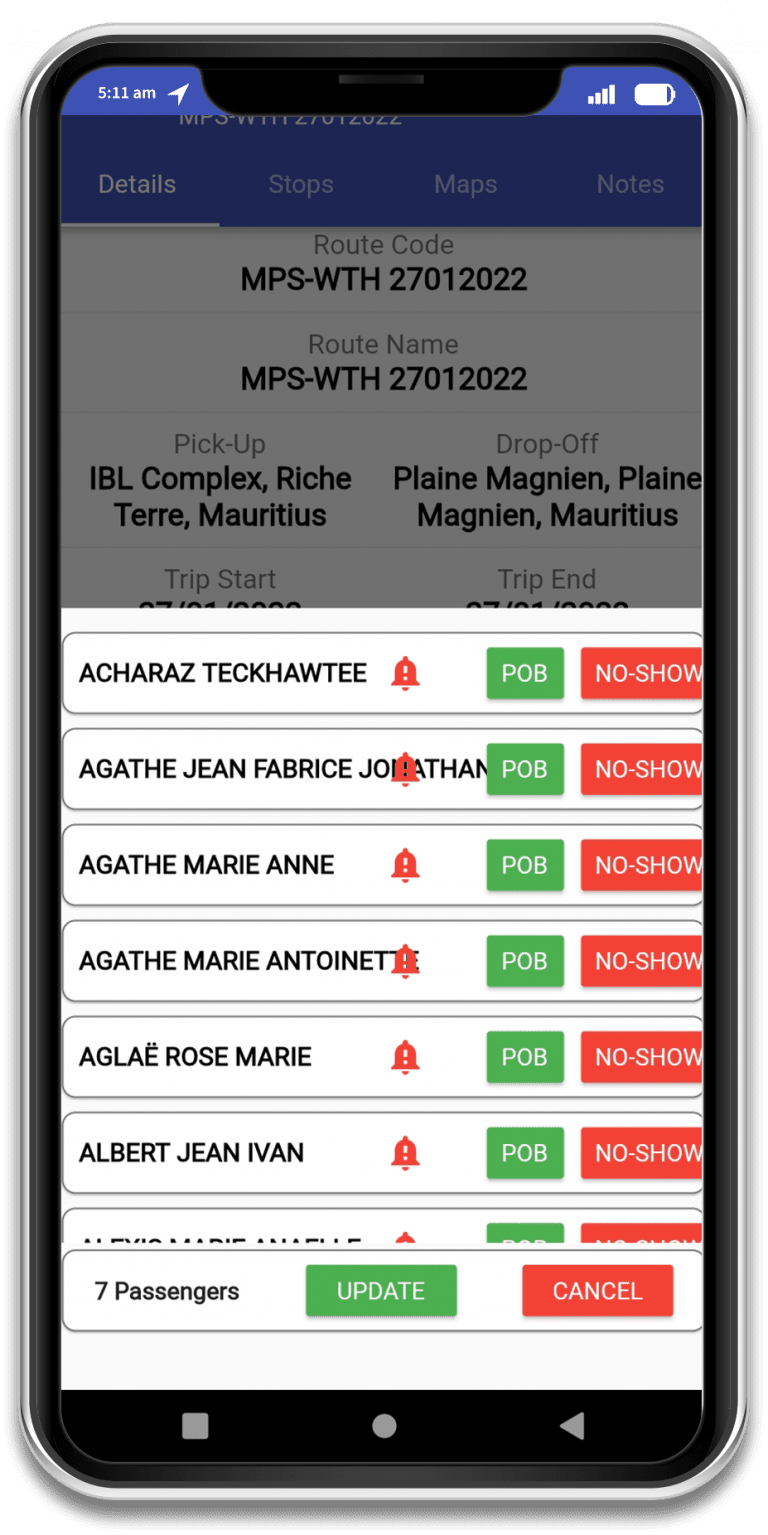
A driver can then either accept or reject the booking by clicking the   or the

Work to Home Information Screen

When a work to home route is offered and accepted, the information screen will display a passenger checklist

The driver has to select and confirm each passenger as they board the vehicle, as shown below

Transports
3
Transports
4
5

Passenger Checklist

Select each passenger status as POB (Passenger On Board) or No-show and click update.

Note: Each passenger status has to be selected and updated before starting a route. This checklist is mandatory for each Work to Home Route.

Navigation Screen

Click on Maps to open navigation menu

Transports
6
Transports
7

Passenger Drop-off

Once the map page is activated, the driver now will simply drop off passengers at their respective home locations

Stops are of two categories here

1. Passenger type drop-off: (displayed in bold font text)
Here driver will drop-off passengers at their specific address

Location Drop-off


2. Location drop-off: (displayed in light font text)

By this way you will be able to drop off passengers at their home locations respectively

Transports
8
Transports
9

Finish Trip

Click Finish Trip once all the passengers have been dropped off at their respective work locations.


This trip will now be displayed in the completed section of the Mission GPS application.

Was this article helpful?
0 out of 5 stars
5 Stars 0%
4 Stars 0%
3 Stars 0%
2 Stars 0%
1 Stars 0%
5
How can we improve this article?
Please submit the reason for your vote so that we can improve the article.
Table of Contents